Introduction
Keeping your garden trimmers sharp is essential for maintaining a healthy, well-manicured garden. Dull blades not only make trimming more difficult but can also damage plants and strain your trimmer’s motor. This comprehensive guide explains why sharpening garden trimmers matters, how to do it effectively, and tips to maintain peak trimming performance.
Why Sharpening Garden Trimmers Is Important
Sharp garden trimmer blades ensure clean, precise cuts. When blades are dull, they tear through stems instead of slicing cleanly, which can harm plants and slow their recovery. Additionally, dull blades cause the trimmer motor to work harder, reducing battery life and increasing wear and tear.
Benefits of sharpening:
– Improved cut quality: Clean cuts promote plant health.
– Extended tool life: Less motor strain means longer equipment lifespan.
– Energy efficiency: Sharp blades consume less power.
Regular sharpening also reduces the risk of accidents caused by slipping or jamming blades.
Common Types of Garden Trimmers and Their Blades
Understanding your trimmer type helps determine the best sharpening method.
String Trimmers
These use nylon lines to cut grass and light weeds. They don’t require sharpening but need regular line replacement.
Hedge Trimmers
Equipped with serrated or straight blades, hedge trimmers need periodic sharpening to keep edges crisp.
Grass and Brush Trimmers with Metal Blades
These trimmers have solid metal blades suitable for tougher vegetation. Sharpening these blades is crucial for cutting efficiency.
Tools and Materials Needed for Sharpening Garden Trimmers
Before starting, gather these essentials:
- Flat file or sharpening stone: For manual sharpening.
- Diamond file: Ideal for serrated edges.
- Protective gloves: To avoid injury.
- Safety goggles: Protect eyes from metal filings.
- Cloth: For cleaning blades.
- WD-40 or lubricant: To loosen rust and lubricate blades after sharpening.
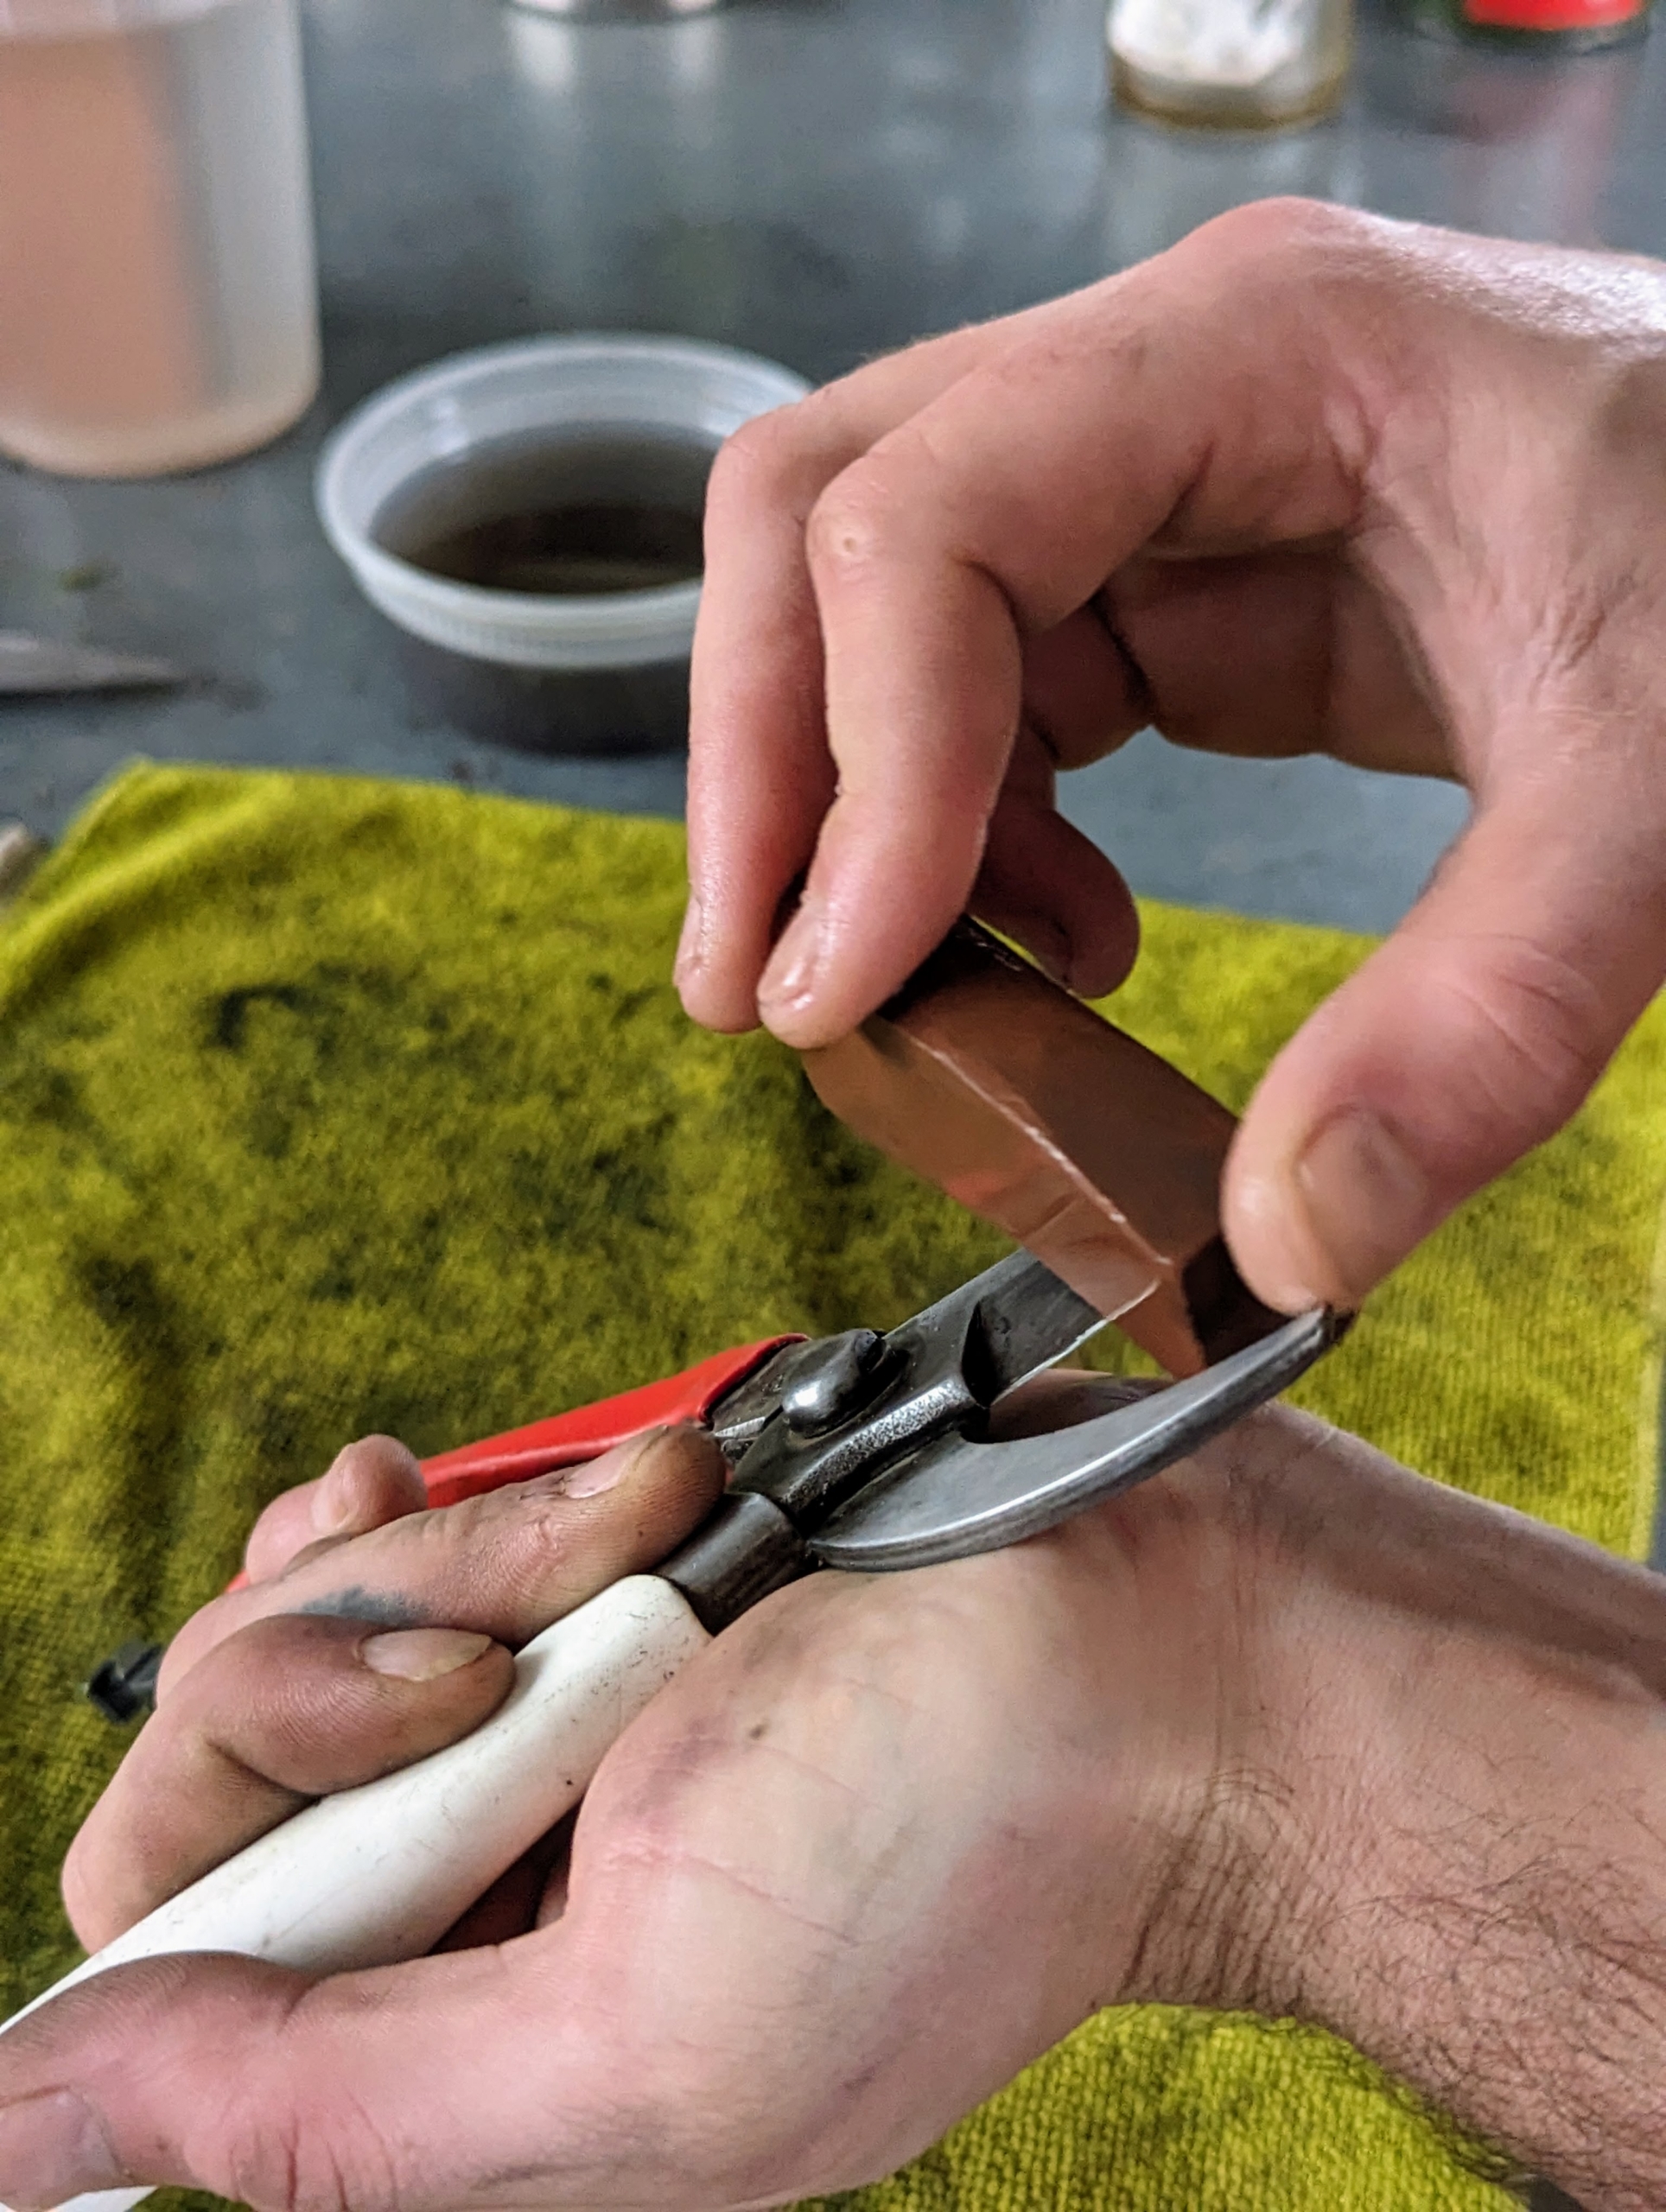
Step-by-Step Guide to Sharpen Garden Trimmer Blades
1. Safety First
Always disconnect the trimmer from power or remove the battery. Wear gloves and goggles to protect yourself.
2. Clean the Blades
Remove dirt, sap, and rust using a cloth and lubricant. This helps you see the blade edges clearly.
3. Secure the Trimmer
Place the trimmer on a stable surface or clamp the blades in a vise for better control.
4. Sharpen the Blades
Use a flat or diamond file at the original bevel angle (usually 30-45 degrees). File each blade stroke away from the cutting edge. Maintain consistent pressure and angle.
5. Check Blade Alignment
After sharpening, ensure blades align properly to avoid jamming. Adjust if necessary.
6. Lubricate and Reassemble
Apply lubricant to prevent rust and reduce friction. Reassemble and test the trimmer.
Tips for Maintaining Sharp Garden Trimmers
- Sharpen blades regularly, ideally after every 10 hours of use.
- Clean blades after each use to prevent buildup.
- Store trimmers in dry places to avoid rust.
- Replace damaged or excessively worn blades.
- Balance blades after sharpening to reduce vibration.
Expert Insights and Common Mistakes
According to horticulture expert Lisa Green, “Consistent blade maintenance extends tool life and protects plants from damage.” Avoid over-sharpening, which can thin blades and cause breakage. Also, never use angle grinders unless experienced, as they can overheat and damage blades.
Conclusion
Sharpening garden trimmers is a simple yet vital task to ensure clean cuts, plant health, and tool longevity. By following the right steps and maintaining your blades regularly, you save time, energy, and money. Make blade sharpening part of your gardening routine to enjoy smoother, more efficient trimming all season long.