Introduction
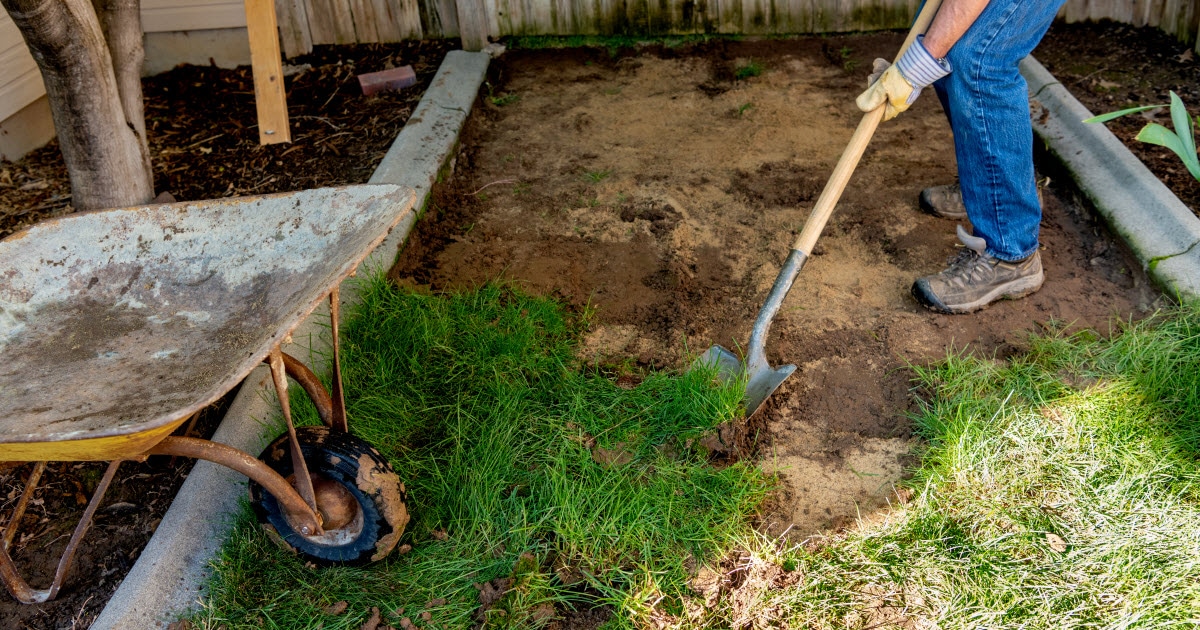
Removing sod to prepare your yard for a garden is a crucial first step that can determine the success of your planting project. Whether you want to grow vegetables, flowers, or create a landscape garden, clearing existing grass properly ensures healthy soil and promotes strong plant growth. This article provides expert advice on how to remove sod efficiently, including tools, techniques, and best practices to make the process easier and more effective.
Why Remove Sod Before Planting a Garden?
Removing sod is essential because grass competes with garden plants for nutrients, water, and space. If left in place, sod can inhibit seed germination and root expansion. Furthermore, grass roots can create a dense barrier that prevents proper soil preparation.
Benefits of removing sod:
- Improves soil aeration and nutrient availability
- Reduces weed competition
- Facilitates easier planting and root establishment
- Enhances water penetration and retention
Experts recommend removing sod before planting to ensure your garden thrives from the start.
Tools and Materials Needed to Remove Sod
Before starting, gather the right tools to make sod removal efficient and less labor-intensive. Depending on your garden size, you might need:
- Shovel or spade: For digging and lifting sod strips
- Sod cutter (manual or powered): Ideal for large areas, it cuts clean strips of turf
- Garden fork or tiller: Helps loosen soil after sod removal
- Wheelbarrow or tarp: To transport or dispose of sod
- Gloves and knee pads: For comfort and protection
Using a powered sod cutter can save time and effort, especially for large gardens.
Step-by-Step Guide to Removing Sod
1. Prepare the Area
Water the sod a day before removal to soften the soil. This makes it easier to cut and lift the grass without breaking the roots.
2. Cut the Sod into Strips
Use your sod cutter or shovel to slice the sod into manageable strips, usually 6 to 12 inches wide. Cutting in straight lines helps with quicker removal.
3. Lift and Remove the Sod
Starting at one edge, use the shovel to pry up each strip carefully. Keep the grass side up if you plan to reuse or compost it.
4. Dispose or Reuse the Sod
You can compost the sod or use it as mulch elsewhere. Avoid leaving it piled on the garden bed as it can smother soil life.
5. Prepare the Soil
After sod removal, loosen the soil with a garden fork or tiller. Remove any remaining roots or debris to create a smooth planting surface.
Alternative Methods: Smothering and Herbicides
If manual sod removal isn’t feasible, you can consider:
- Smothering: Cover the sod with cardboard or black plastic to block sunlight. After several weeks, the grass will die and decompose, creating a ready-to-plant bed.
- Herbicides: Use carefully selected herbicides to kill sod before removal. This method requires caution to avoid harming nearby plants and is best for large, stubborn areas.
Both methods take longer but reduce physical labor.
Tips for Maintaining Soil Health After Sod Removal
- Test your soil: Check pH and nutrient levels to amend as needed.
- Add organic matter: Incorporate compost or aged manure to improve fertility and structure.
- Avoid compaction: Minimize foot traffic on freshly prepared beds.
- Mulch: Apply mulch after planting to retain moisture and suppress weeds.
Maintaining soil health after sod removal sets the foundation for a thriving garden.
Conclusion
Removing sod for a garden is a foundational task that ensures your plants get the best start. By using the right tools and following systematic steps, you can efficiently clear your yard and prepare nutrient-rich soil. Whether you choose manual removal, smothering, or herbicides, maintaining soil health afterward is key to long-term garden success. Take the time to remove sod properly, and your garden will reward you with vibrant growth and abundant harvests.
