
Introduction
Removing a garden hose from an outdoor faucet is a simple task but requires proper technique to avoid damaging your faucet or hose. Whether you’re preparing for winter or switching watering setups, knowing how to disconnect your garden hose correctly ensures longevity and prevents leaks. This article covers expert tips and step-by-step guidance on how to safely remove your garden hose, troubleshoot common issues, and maintain your outdoor faucet.
Why Properly Removing a Garden Hose Matters
Incorrectly detaching a garden hose can lead to several problems:
- Damaged faucet threads if the hose is forced or twisted harshly
- Leaks caused by worn washers or cross-threading
- Water wastage and potential flooding
By carefully following removal steps, you protect your garden tools and avoid costly repairs. Proper removal also helps you inspect hoses and faucets for wear and tear, ensuring your watering system remains efficient.
Step-by-Step Guide: How to Remove a Garden Hose from an Outdoor Faucet
1. Turn Off the Water Supply
Before disconnecting, always turn off the water supply at the faucet to prevent water pressure buildup. Most outdoor faucets have a simple valve handle; turn it clockwise until it stops.
2. Release Pressure by Opening the Hose End
Open the nozzle or end of the hose to release any trapped water pressure. This reduces the chance of water spraying unexpectedly when you loosen the hose.
3. Grip the Hose Connector Firmly
Hold the hose connector near the faucet with one hand. Use your other hand to turn the connector counterclockwise. If the connection is tight, use a strap wrench or garden pliers for extra grip but be cautious to avoid damaging the connector.
4. Loosen and Remove the Hose
Continue unscrewing the hose connector until it detaches from the faucet. If it feels stuck, apply a bit of penetrating oil and wait 10-15 minutes before retrying. Avoid excessive force that could strip threads.
5. Inspect Hose and Faucet Components
After removal, check the rubber washer inside the hose connector for cracks or wear. Replace if necessary to prevent leaks. Also, inspect the faucet threads and clean off dirt or corrosion.
Troubleshooting Common Issues When Removing a Garden Hose
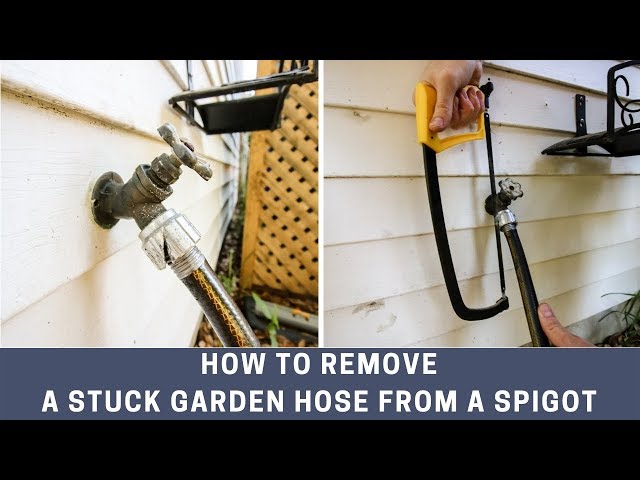
Hose Stuck on Faucet
A hose that won’t budge often results from corrosion or mineral buildup. To fix this:
- Apply penetrating oil like WD-40 around the threads
- Let it sit for 10-15 minutes
- Gently try to twist the hose again
If still stuck, carefully use pliers with a cloth to protect the metal.
Leaking Faucet After Removal
Leaks can occur if washers are damaged or faucet threads are stripped. Replace worn washers inside the hose connector and inspect faucet threads for damage. Use plumber’s tape on faucet threads if leaks persist when reconnecting.
Tips for Maintaining Your Garden Hose and Faucet
- Disconnect hoses during winter to prevent freezing and cracking
- Store hoses properly coiled and in a shaded area to prolong life
- Inspect washers regularly and replace them annually
- Clean faucet threads to avoid buildup and corrosion
Conclusion
Removing a garden hose from an outdoor faucet is straightforward when done with care. Always turn off the water supply, relieve pressure, and gently unscrew the hose connector to avoid damage. Regular maintenance and timely inspection of washers and threads extend the lifespan of both hoses and faucets. Following these expert tips will keep your outdoor watering system efficient and leak-free year-round. Remember, a little care during hose removal saves you from costly repairs and water waste later.