Introduction
Level garden edging plays a crucial role in defining garden spaces, preventing soil erosion, and enhancing the overall aesthetic of your outdoor area. Whether you’re a seasoned gardener or a beginner, understanding how to install and maintain level garden edging can transform your landscape into a polished and functional space. This article explores the importance of level garden edging, different materials and techniques, and practical tips to achieve professional results.
Why Is Level Garden Edging Important?
Level garden edging serves multiple purposes beyond just appearance:
- Defines garden beds and pathways, providing clear boundaries.
- Prevents grass and weeds from spreading into flower beds.
- Helps control soil and mulch, keeping them in place during rains.
- Eases lawn mowing and maintenance by creating clean divisions.
Maintaining a level edge ensures that these benefits are maximized. Uneven edging can cause water pooling, soil displacement, and an untidy appearance.
Choosing the Right Materials for Level Garden Edging
Selecting suitable materials depends on your garden style, budget, and durability needs. Common materials include:
1. Plastic and Rubber Edging
- Flexible and easy to install.
- Ideal for curved or irregular garden beds.
- Resistant to rot and rust.
2. Metal Edging (Steel or Aluminum)
- Offers a sleek, modern look.
- Highly durable and long-lasting.
- Requires careful installation to keep edges level.
3. Stone and Brick Edging
- Provides a natural, classic aesthetic.
- Heavy and sturdy but may need professional leveling.
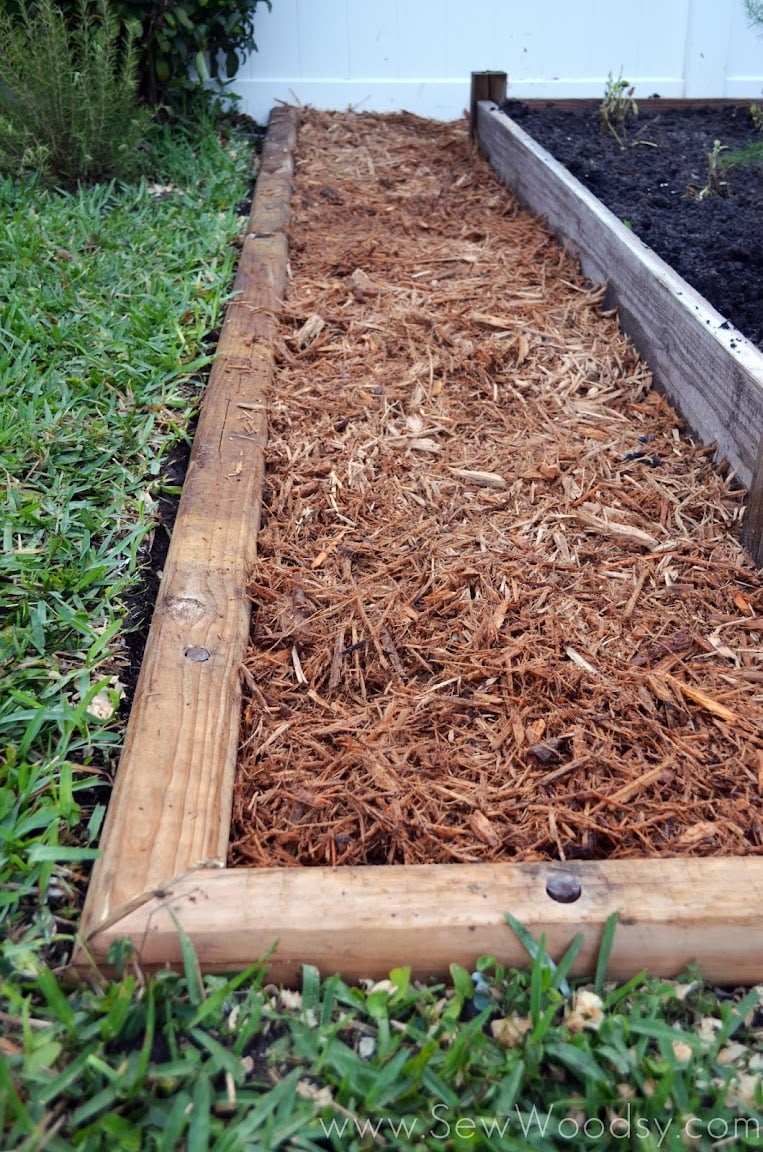
4. Wood Edging
- Affordable and versatile.
- Requires treatment to resist weathering.
Expert tip: Choose materials that complement your garden’s style and require maintenance levels you are comfortable with.
Step-by-Step Guide to Installing Level Garden Edging
Achieving perfectly level garden edging involves careful preparation and technique:
- Plan and Mark the Edging Line: Use stakes and string to outline your desired border.
- Dig a Trench: Make it deep and wide enough to hold your edging material firmly.
- Level the Base: Use a spirit level to ensure the trench floor is flat.
- Place Edging Material: Insert edging into the trench, adjusting for levelness.
- Secure and Backfill: Use soil or gravel to stabilize the edging and maintain level.
Regularly check the level during installation to avoid unevenness. A slight slope away from garden beds can improve drainage.
Maintenance Tips to Keep Your Garden Edging Level
Long-term upkeep ensures your edging remains effective and attractive:
- Inspect edging annually for shifts or damage.
- Re-level sections if soil erosion or settling occurs.
- Clean edging materials to prevent buildup of dirt or moss.
- Replace decayed wooden edging promptly to maintain structure.
Consistent maintenance prolongs the life of your edging and keeps your garden looking tidy.
Common Mistakes to Avoid When Installing Garden Edging
To save time and resources, steer clear of these pitfalls:
- Installing edging without leveling the trench base.
- Using materials unsuitable for your soil type or climate.
- Neglecting to compact soil behind edging, causing movement.
- Ignoring drainage needs, leading to water pooling.
Awareness of these issues helps achieve professional-quality results.
Conclusion
Level garden edging is a foundational element that enhances both the beauty and functionality of your garden. By selecting the right materials, following precise installation steps, and maintaining your borders regularly, you can create clean, durable garden edges that stand the test of time. Take the time to plan and execute your edging project carefully — your garden will thank you with a polished, organized look that boosts curb appeal and ease of maintenance.