
Introduction
Laying garden tiles is a transformative way to enhance your outdoor space, providing both beauty and functionality. Whether you’re creating a patio, a pathway, or a decorative area, properly installed garden tiles offer durability and style that lasts. This guide dives into the essential steps, expert tips, and considerations you need to lay garden tiles successfully. By understanding the right techniques and materials, you can achieve a professional finish that elevates your garden’s appeal.
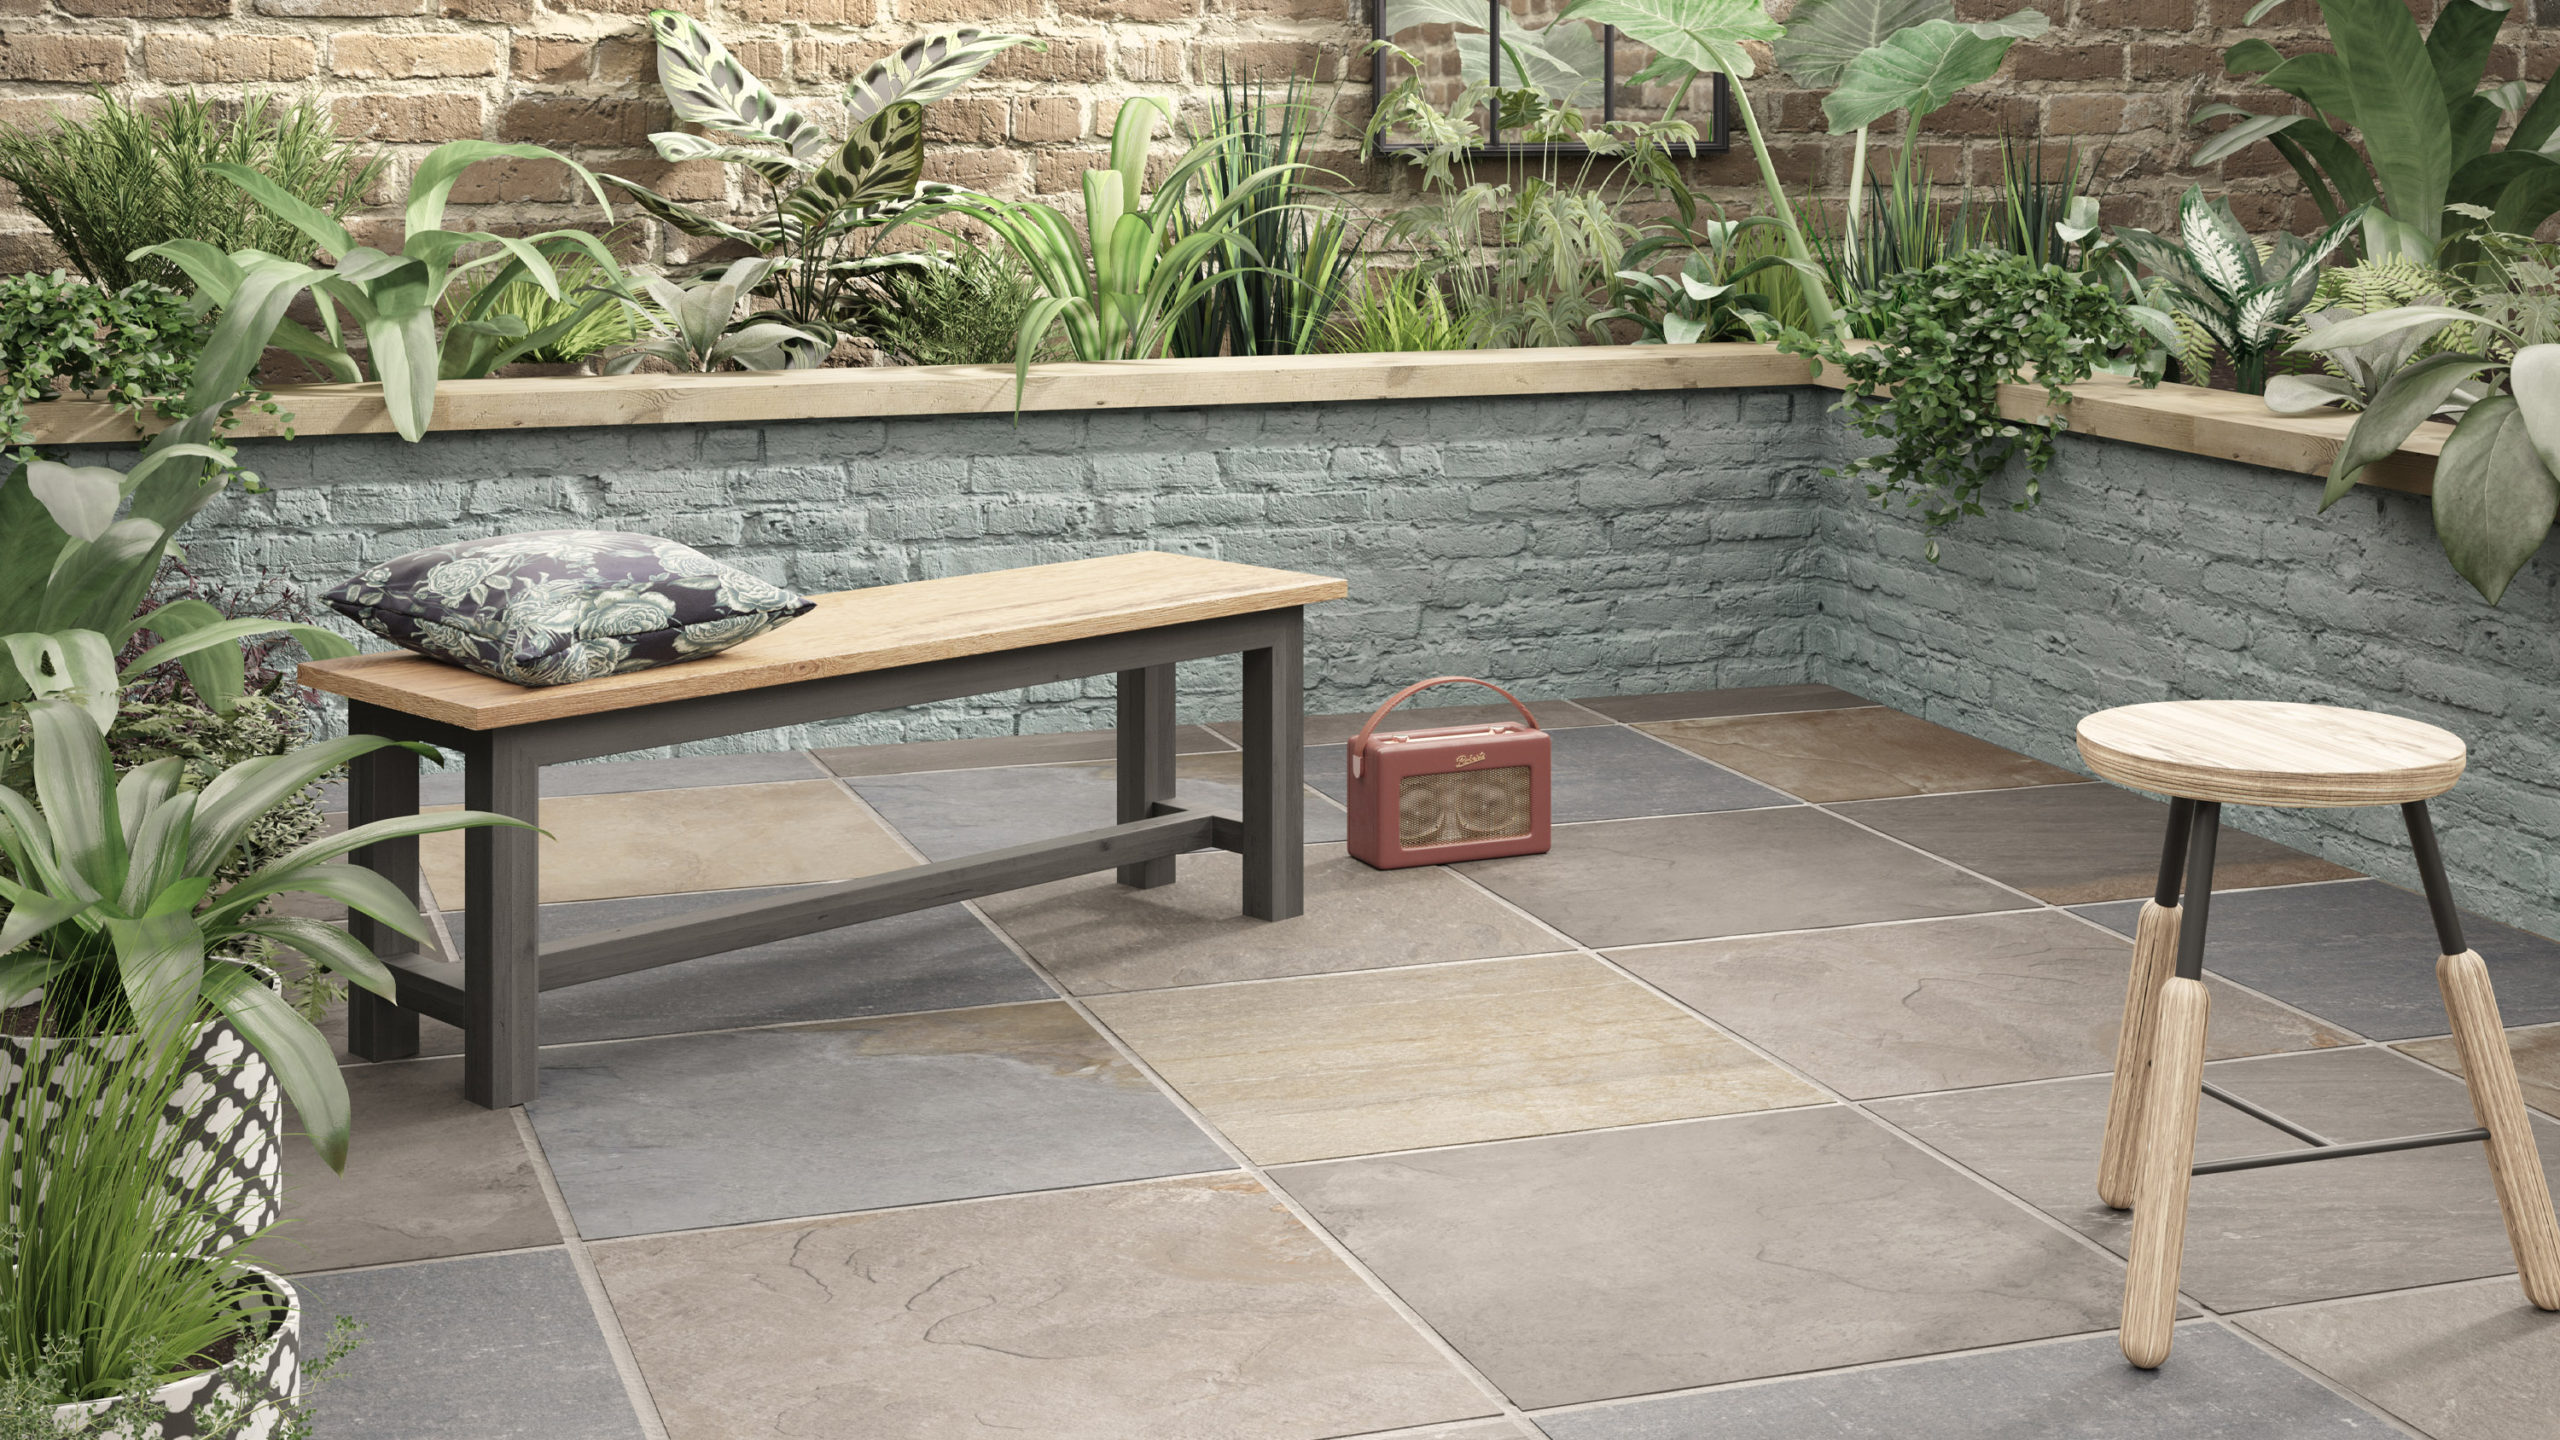
Why Lay Garden Tiles?
Garden tiles provide a clean, stable surface ideal for outdoor living. They help prevent muddy patches, protect plant beds, and create defined areas for seating or decoration. Additionally, tiles come in various materials like stone, concrete, and porcelain, allowing you to match your garden’s aesthetic precisely.
Key Benefits:
– Enhances garden appearance
– Improves outdoor usability
– Increases property value
– Low maintenance and long-lasting
Preparing to Lay Garden Tiles
Assess Your Garden Space
Start by evaluating the area where you plan to lay tiles. Measure the space accurately and note any slopes or drainage issues. Good preparation prevents future problems like uneven surfaces or water pooling.
Choose the Right Tiles
Select tiles based on durability, slip resistance, and style. For high-traffic areas, consider porcelain or concrete tiles due to their strength. Natural stone adds elegance but may require more upkeep.
Gather Essential Tools and Materials
- Garden tiles of your choice
- Sand or mortar for bedding
- Spirit level
- Tape measure
- Rubber mallet
- Trowel
- Plate compactor (for large areas)
Step-by-Step Guide to Laying Garden Tiles
1. Clear and Prepare the Ground
Remove grass, roots, and debris from the area. Excavate to a depth of about 100mm to accommodate the tile base and bedding.
2. Create a Solid Base
Lay a sub-base of crushed stone or gravel, typically 50-70mm thick. Compact this layer firmly using a plate compactor or hand tamper to ensure stability.
3. Apply a Bedding Layer
Spread a 25-30mm layer of sharp sand or mortar over the compacted base. Level it carefully with a straight edge to create a smooth surface for the tiles.
4. Lay the Tiles
Start from one corner, placing each tile firmly into the bedding. Use a rubber mallet to tap tiles gently and ensure even contact.
5. Check Level and Spacing
Use a spirit level frequently to maintain an even surface. Leave consistent gaps between tiles (usually 5-10mm) for grouting or joint filling.
6. Fill the Joints
Once tiles are laid, fill the gaps with sand or polymeric jointing compound. This stabilizes the tiles and prevents weed growth.
Expert Tips for a Durable and Attractive Tile Installation
- Plan for Drainage: Ensure the tiled area slopes slightly (about 1-2%) to direct water away and avoid pooling.
- Use Quality Materials: Invest in frost-resistant tiles and high-quality bedding materials for longevity.
- Consider Edging: Install edging strips or borders to keep tiles in place and create a polished look.
- Work in Small Sections: This approach helps maintain control and prevents the bedding from drying prematurely.
- Regular Maintenance: Sweep regularly and clean with mild detergent to keep tiles looking fresh.
Common Challenges and How to Overcome Them
Uneven Surfaces
Address uneven ground by adding or removing base material before laying tiles. Use a level during installation to detect and correct dips.
Weed Growth Between Tiles
Use polymeric sand in joints and apply a weed barrier membrane beneath the base to minimize weeds.
Slippery Tiles
Choose textured or anti-slip tiles, especially in wet or shaded areas, to ensure safety.
Conclusion
Laying garden tiles carefully transforms your outdoor area into an inviting, durable space perfect for relaxing or entertaining. By following expert techniques—from thorough preparation to precise installation—you ensure a lasting, attractive finish. Remember, the right tile choice, solid base, and proper drainage are fundamental to success.
Ready to upgrade your garden? Start planning your tile layout today, and enjoy a beautiful, functional outdoor space for years to come!