Introduction
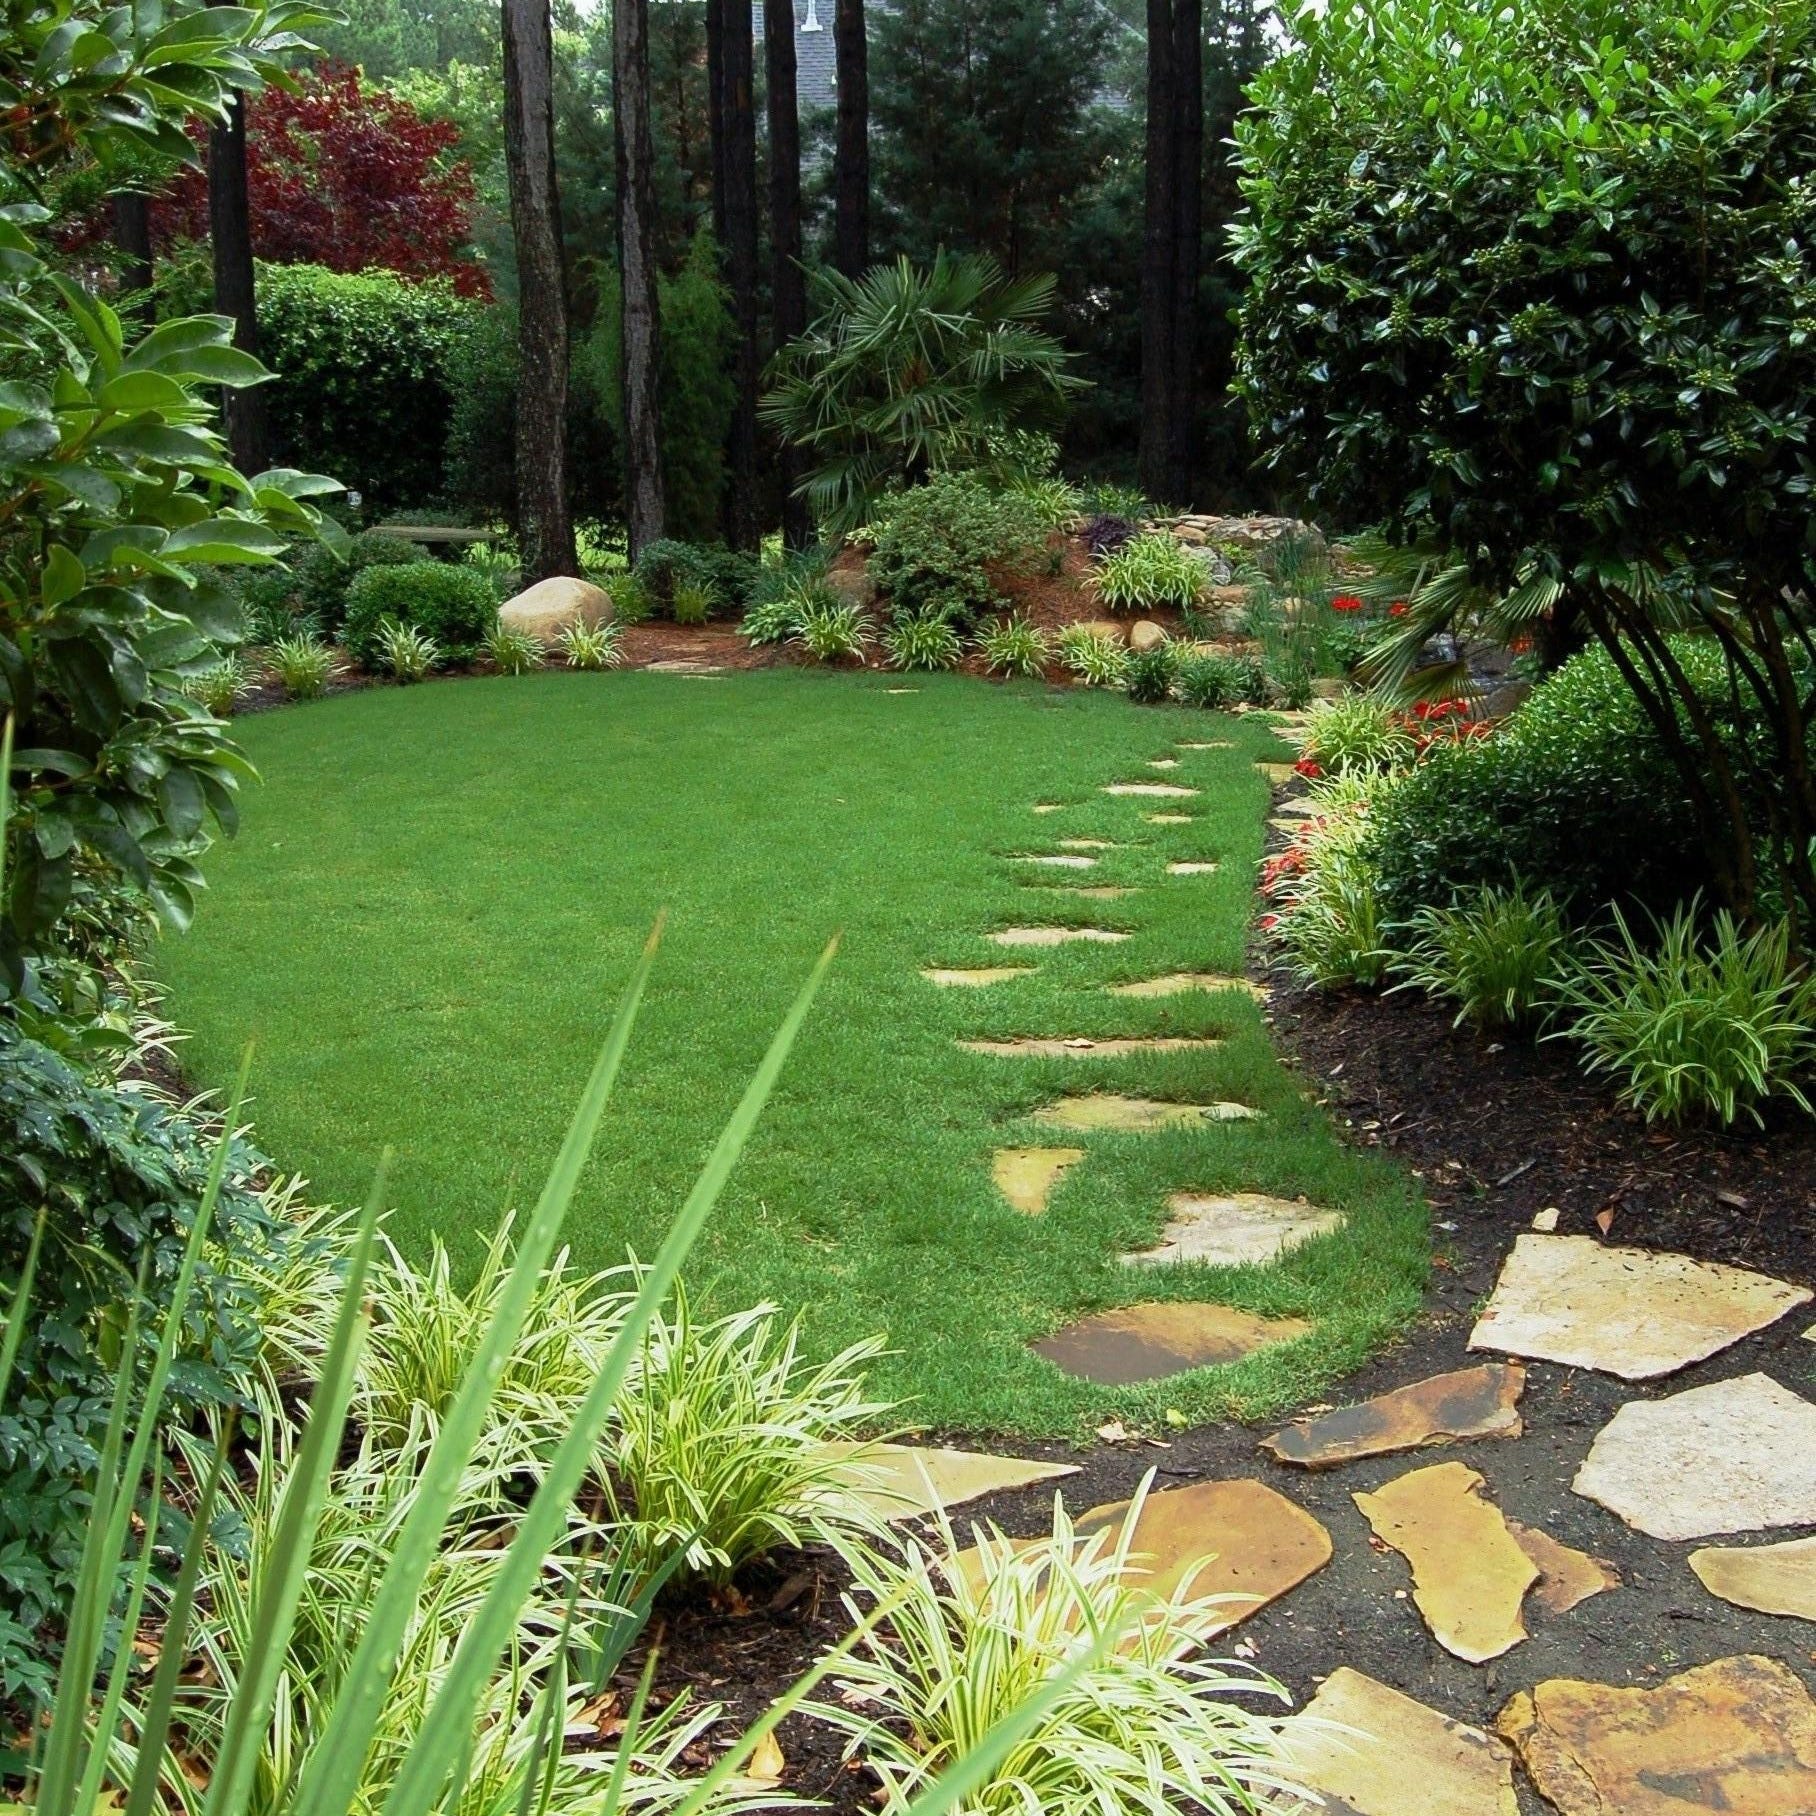
An edge garden bed is more than just a boundary for your plants; it’s a vital design element that enhances both the aesthetics and functionality of your garden. Creating clean, well-defined edges around garden beds helps prevent grass encroachment, improves soil retention, and offers a polished look that elevates your outdoor space.
This article explores everything you need to know about edge garden beds—from types and materials to installation tips and maintenance advice. Whether you’re a seasoned gardener or a beginner, understanding how to build and maintain an effective edge garden bed will transform your garden into a neat, manageable, and visually appealing area.
What Is an Edge Garden Bed and Why Is It Important?
An edge garden bed refers to the border or boundary that separates your garden bed from the lawn or other areas. It defines the shape of your garden, helps contain soil and mulch, and keeps unwanted grass and weeds out.
Benefits of Edge Garden Beds
- Prevents soil erosion: Edging keeps soil and mulch in place during rain and watering.
- Controls weeds: A physical barrier reduces grass and weed invasion.
- Improves garden appearance: Clean lines create a professional, tidy look.
- Simplifies maintenance: Easier mowing and trimming around beds.
Experts in landscape design emphasize that clearly defined edges can increase curb appeal and add value to your property.
Common Materials for Edge Garden Beds
Choosing the right material is essential for durability, style, and ease of installation. Here are popular options:
1. Metal Edging
- Durability: Rust-resistant steel or aluminum lasts decades.
- Flexibility: Easy to shape curves and straight lines.
- Modern appearance: Sleek and minimalistic.
2. Wood Edging
- Natural look: Perfect for rustic or cottage gardens.
- Types: Cedar and redwood resist rot better.
- Maintenance: Requires occasional sealing or painting.
3. Stone and Brick
- Classic aesthetic: Adds structure and elegance.
- Longevity: Stones last indefinitely if properly installed.
- Installation: More labor-intensive, needs solid foundation.
4. Plastic or Composite Edging
- Cost-effective: Affordable and easy to install.
- Flexibility: Some types bend for curves.
- Longevity: May degrade under strong sunlight over time.
How to Install an Edge Garden Bed
Proper installation guarantees long-lasting results and enhanced garden health.
Step-by-Step Installation Guide
- Plan and Mark: Use a garden hose or string to outline your bed shape.
- Prepare the Soil: Dig a trench 4-6 inches deep along the marked line.
- Place Edging Material: Insert your chosen edging firmly in the trench.
- Secure Edging: Use stakes or pins to hold edges in place.
- Backfill and Compact: Fill the trench back with soil and press firmly.
- Add Mulch or Plants: Finish by adding mulch or planting along the edge.
Expert Tips
- For curved beds, flexible metal or plastic edging works best.
- Use a level to ensure even height.
- Consider adding a root barrier for invasive plants.
Maintaining Your Edge Garden Bed
Regular upkeep keeps your garden bed functional and attractive.
- Inspect edges seasonally for shifting or damage.
- Remove encroaching grass promptly to prevent spread.
- Reapply mulch yearly to preserve soil moisture.
- Clean and treat wood edges to extend lifespan.
Professional gardeners recommend quarterly checks to maintain crisp, clean garden lines.
Conclusion
An edge garden bed is a smart investment that enhances your garden’s beauty and health. By selecting the right materials, installing them correctly, and maintaining your edges regularly, you create a neat, manageable garden space that stands out.
Whether you prefer the rustic charm of wood, the sleekness of metal, or the timeless appeal of stone, edged garden beds offer both practical and aesthetic benefits. Start planning your garden edges today to enjoy a cleaner, more attractive outdoor space tomorrow.