Introduction
Building a garden trellis is one of the most effective ways to support climbing plants, improve garden aesthetics, and maximize space. Whether you want to grow vegetables like cucumbers and tomatoes or add vertical interest with flowering vines, a well-built trellis offers both functionality and charm. This article guides you through the process of building a garden trellis, covering materials, design options, and installation tips to help you create a sturdy and beautiful structure.
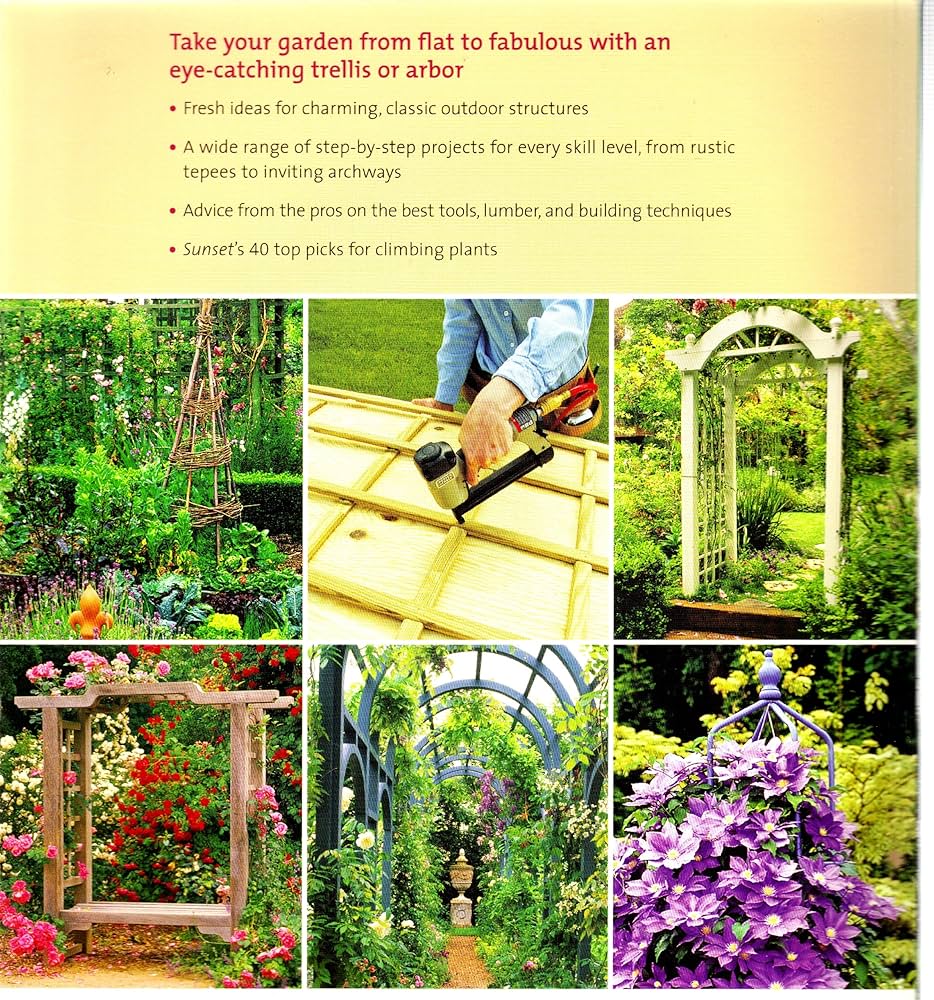
Why Build a Garden Trellis?
A garden trellis serves multiple purposes:
- Supports plant growth: Keeps vines and climbing plants upright, improving air circulation and reducing disease.
- Saves space: Enables vertical gardening, ideal for small yards or container gardens.
- Enhances garden design: Adds architectural interest and can serve as a privacy screen or decorative feature.
Understanding these benefits highlights why investing time in building a trellis is worthwhile for gardeners of all levels.
Materials and Tools Needed
Before starting, gather the right materials and tools. The choice depends on your garden style, budget, and the plants you intend to grow.
Common Materials
- Wood: Cedar and redwood are durable and resistant to rot, ideal for long-lasting trellises.
- Metal: Steel or wrought iron offers strength and modern aesthetics but may require rust protection.
- PVC or Plastic: Lightweight and affordable but less durable in harsh weather.
- Wire Mesh or Garden Netting: Useful for simple, flexible trellis designs.
Essential Tools
- Measuring tape
- Saw (hand or power)
- Drill with screws
- Hammer and nails
- Level
- Protective gloves
Selecting quality materials and tools ensures your trellis withstands seasons and supports heavy plant loads.
Step-by-Step Guide to Building Your Garden Trellis
1. Plan Your Trellis Design
Decide on the trellis style based on your garden’s needs:
- A-frame trellis: Great for vegetable gardens, providing stability and easy access.
- Flat panel trellis: Ideal against walls or fences.
- Obelisk or pyramid: Decorative and space-saving for patio containers.
Measure the area where you plan to install the trellis to determine size.
2. Prepare the Site
Clear the installation area of debris and level the ground. For stability, especially with taller trellises, consider anchoring posts deeply into the soil.
3. Cut and Assemble Materials
Cut wood or metal pieces to your planned dimensions. Assemble the frame using screws or nails, ensuring corners are square with a level. Attach wire mesh or lattice panels securely.
4. Install the Trellis
Dig holes for posts at least 18 inches deep for stability. Place posts and fill holes with soil or concrete for extra support. Ensure the trellis is vertical and secure.
5. Plant and Train Your Vines
Plant climbing plants near the base. As they grow, gently tie stems to the trellis to encourage upward growth.
Tips for Maintaining Your Garden Trellis
- Inspect regularly for signs of wear, rot, or rust.
- Apply protective finishes like sealants or paint to wood and metal.
- Prune plants to prevent overloading and improve air circulation.
- Clean the structure at the end of the growing season to prepare for next year.
Real-World Examples and Expert Insights
According to horticulturist Laura Miller, “A well-designed trellis can increase vegetable yields by up to 30% by improving sunlight exposure and airflow.” Many urban gardeners report that vertical trellises allow them to grow more in limited spaces, demonstrating practical benefits in small-scale gardening.
Conclusion
Building a garden trellis is a rewarding project that combines creativity with practicality. By choosing the right materials, planning your design carefully, and following installation best practices, you create a durable structure that supports healthy plant growth and beautifies your garden. Start your trellis project today and unlock the potential of vertical gardening in your outdoor space.