Introduction
Building an elevated garden is an excellent way to maximize your gardening space, improve soil quality, and reduce strain on your back. Whether you have limited yard space or poor soil conditions, an elevated garden offers a practical and attractive solution. In this comprehensive guide, you will learn the benefits, materials, design options, construction steps, and maintenance tips for building a successful elevated garden. This article is designed to provide clear, expert advice that aligns with common user questions and gardening best practices.
Why Build an Elevated Garden?
Elevated gardens, often referred to as raised garden beds, offer several advantages over traditional in-ground gardening:
- Improved Soil Drainage: Elevated beds allow for better drainage, reducing risks of root rot.
- Enhanced Soil Quality: You control the soil mix, ensuring optimal nutrients and texture.
- Easier Access: Raised beds reduce bending and kneeling, making gardening accessible for all ages.
- Pest and Weed Control: Elevated height helps deter some pests and limits weed invasion.
- Extended Growing Season: Soil in raised beds warms faster in spring, allowing earlier planting.
Expert gardeners often highlight these benefits as key reasons for choosing elevated gardens, especially in urban or challenging soil environments.
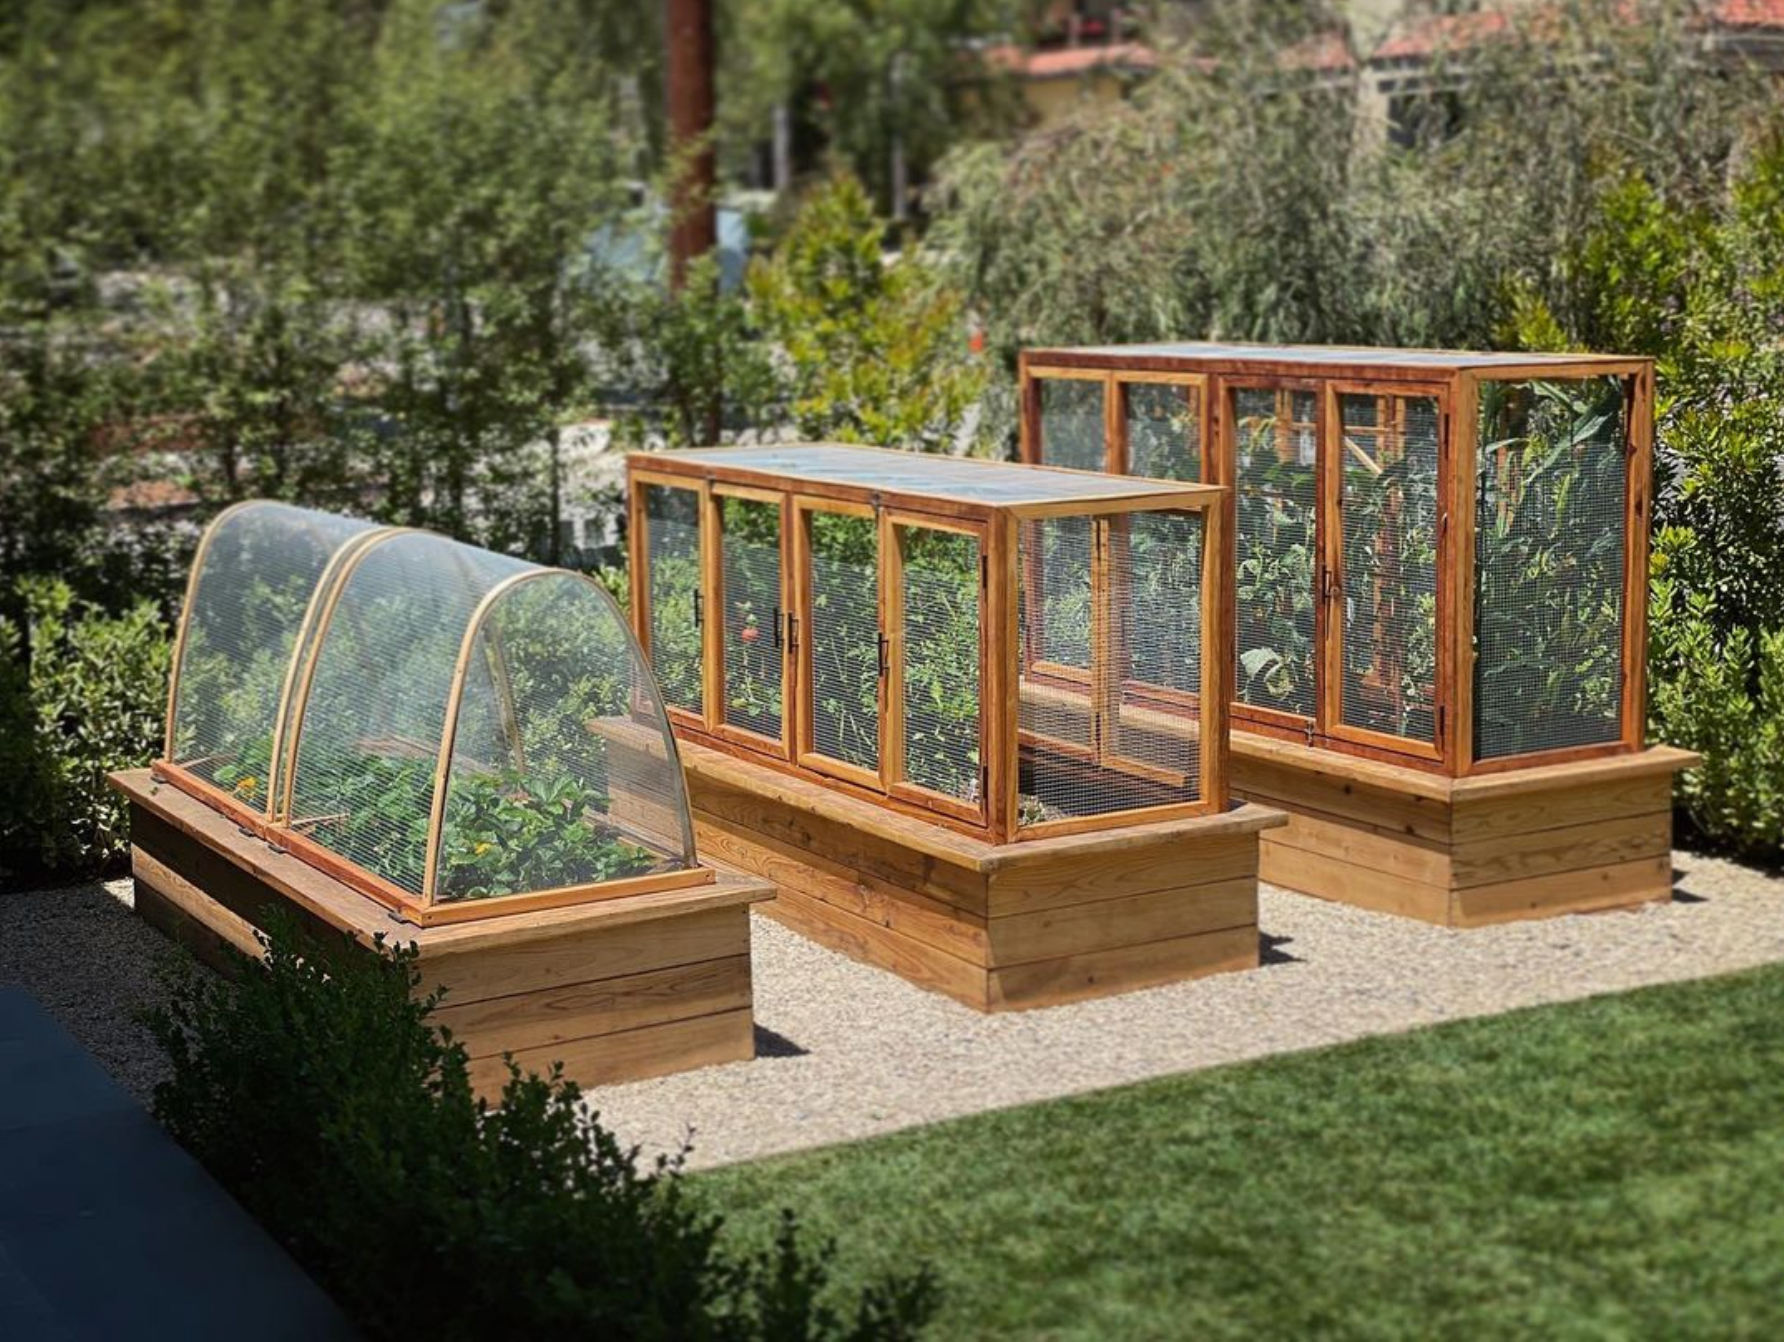
Choosing the Right Materials for Your Elevated Garden
Selecting durable and safe materials is critical for building a lasting elevated garden. Common options include:
Wood
- Cedar and redwood are naturally rot-resistant and safe for growing edibles.
- Avoid treated woods that may leach harmful chemicals into the soil.
Stone and Brick
- Provides a sturdy, permanent structure with excellent aesthetics.
- Retains heat, which can benefit plant growth.
Metal
- Galvanized steel or corrugated metal beds are durable and modern-looking.
- Ensure the metal is coated to prevent rust and avoid toxic metals.
Composite Materials
- Made from recycled plastics and wood fibers.
- Resistant to decay and insects, but may have a higher upfront cost.
Each material has pros and cons; consider your budget, climate, and garden style when deciding.
Step-by-Step Guide to Building Your Elevated Garden
Step 1: Plan Your Garden Size and Location
- Choose a sunny spot with at least 6-8 hours of direct sunlight daily.
- Decide on dimensions; common sizes are 4 feet wide (for easy reach) and variable lengths.
Step 2: Prepare the Site
- Clear the area of grass and debris.
- Loosen the soil beneath to improve drainage.
Step 3: Build the Frame
- Cut your chosen material to size.
- Assemble the frame using screws or nails, ensuring corners are square.
Step 4: Add Soil Mix
- Use a balanced mix of topsoil, compost, and organic matter.
- A good ratio is 60% topsoil, 30% compost, and 10% potting soil or peat.
Step 5: Plant and Maintain
- Select plants suited for your climate and soil conditions.
- Water consistently and mulch to retain moisture.
Tips for Maintaining Your Elevated Garden
- Watering: Elevated gardens dry out faster; monitor moisture levels daily.
- Soil Health: Replenish nutrients annually with compost or organic fertilizers.
- Pest Management: Use row covers or natural predators to control pests.
- Seasonal Care: Cover beds in winter or rotate crops to prevent soil depletion.
Regular maintenance ensures your elevated garden remains productive and healthy.
Conclusion
Building an elevated garden is a rewarding project that enhances accessibility, soil quality, and plant health. By carefully selecting materials, planning the layout, and following proper construction and maintenance steps, you can create a thriving garden space tailored to your needs. Whether you’re a beginner or an experienced gardener, elevated gardens offer a flexible and effective way to grow fresh vegetables, herbs, and flowers. Start building your elevated garden today and enjoy a vibrant, productive garden for years to come!