
Introduction
Watching seeds sprout in your garden is one of the most rewarding experiences for any gardener. Sprouting marks the beginning of new life, signaling the successful transition from seed to seedling. Understanding the sprouting process in your garden not only helps you nurture healthy plants but also ensures a productive growing season.
This article explores the essentials of sprouting in your garden, including why seeds sprout, the conditions they need, and how to troubleshoot common sprouting issues. Whether you’re a beginner or an experienced gardener, this guide will equip you with expert tips and practical advice to foster vigorous growth right from the start.
Why Are Seeds Sprouting in My Garden?
Sprouting is a natural process where seeds absorb water, activate enzymes, and begin to grow roots and shoots. This phase is crucial because it sets the foundation for plant development. Seeds sprout when environmental conditions—such as moisture, temperature, and light—are favorable.
Key Factors That Trigger Sprouting
- Moisture: Seeds need adequate water to soften their seed coats and trigger metabolic activity.
- Temperature: Most seeds require moderate warmth, typically between 60°F and 75°F (15°C to 24°C), to sprout.
- Oxygen: Seeds must have access to oxygen for cellular respiration during germination.
- Light: Some seeds require light to sprout, while others prefer darkness.
Understanding these factors helps gardeners create optimal conditions to encourage sprouting and improve germination rates.
How to Promote Healthy Sprouting in Your Garden
Creating the right environment for your seeds is essential for robust sprouting. Here’s how you can optimize conditions:
1. Prepare the Soil
- Loosen the soil to improve aeration and drainage.
- Amend with organic matter like compost to supply nutrients.
- Maintain proper pH levels, typically between 6.0 and 7.0 for most plants.
2. Correct Watering Techniques
- Keep the soil consistently moist but not waterlogged.
- Use a spray bottle or gentle watering can to avoid displacing seeds.
3. Manage Temperature
- Use row covers or seedling mats to maintain warmth.
- Start seeds indoors if outdoor temperatures are too low.
4. Provide Adequate Light
- Use grow lights or place seedlings in sunny windows.
- Understand the light requirements of each plant species.
By controlling these factors, you can significantly boost sprouting success in your garden.
Common Problems During Sprouting and How to Fix Them
Even with the best care, some issues may arise during sprouting. Here are common problems and solutions:
Damping-Off Disease
- Symptoms: Seedlings collapse and rot at the soil line.
- Causes: Fungal pathogens thriving in overly wet, poorly ventilated soil.
- Solutions: Improve air circulation, avoid overwatering, and use sterile soil.
Poor Germination Rates
- Possible reasons: Old or improperly stored seeds, incorrect planting depth, or unsuitable temperature.
- Fixes: Use fresh seeds, follow seed packet instructions for depth, and adjust environmental conditions.
Seedlings Not Emerging
- Causes: Soil crusting, pests, or lack of moisture.
- Recommendations: Gently loosen soil surface, protect from pests, and maintain moisture.
Expert Tips for Successful Sprouting
- Pre-soak seeds to jumpstart germination for hard-coated varieties.
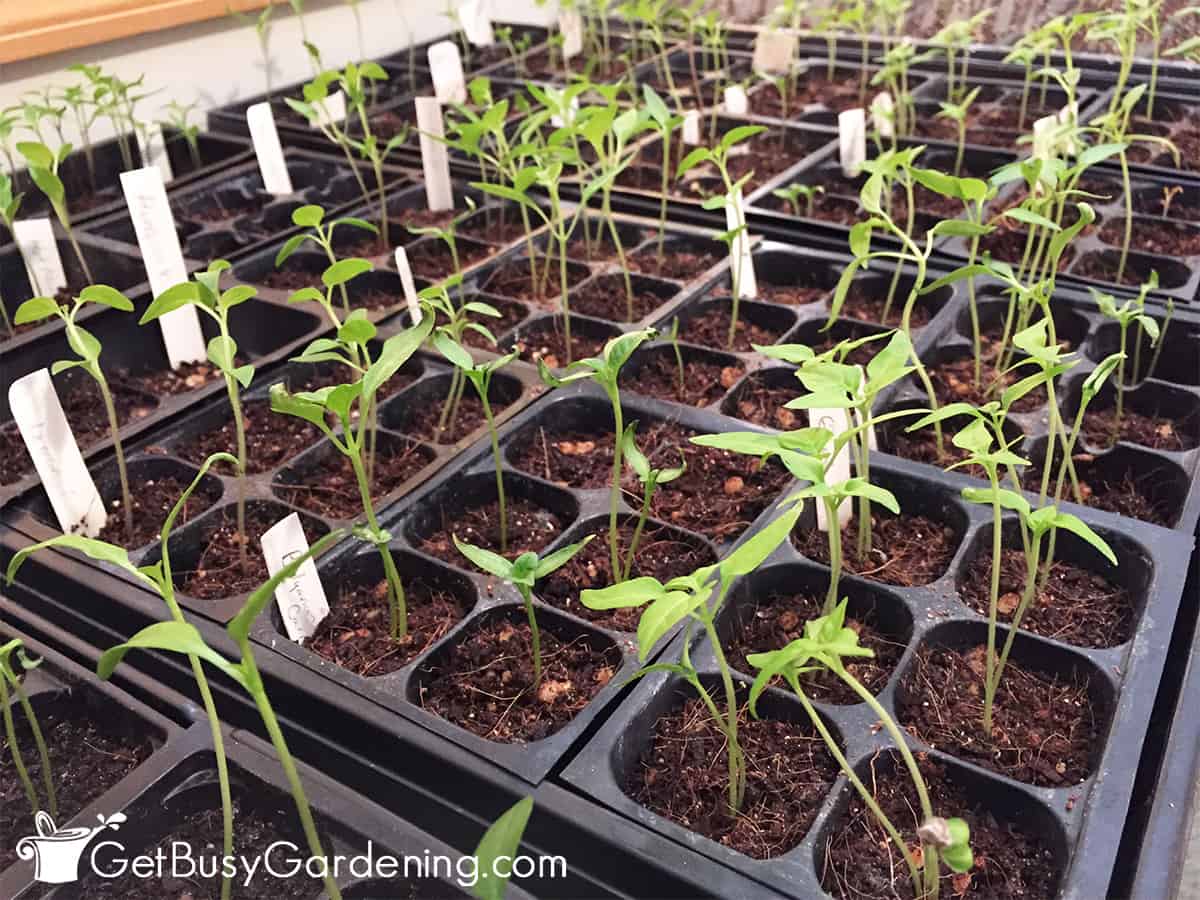
- Label your seed trays to track sprouting progress and care needs.
- Thin seedlings early to prevent overcrowding and promote healthy growth.
- Keep a gardening journal to note conditions and outcomes for continuous improvement.
Conclusion
Sprouting is the vital first step in your garden’s life cycle. By understanding the factors influencing seed germination and applying proven gardening techniques, you can nurture strong, healthy seedlings that flourish into mature plants. Remember to maintain optimal moisture, temperature, and light conditions, watch for common problems, and apply expert tips to enhance your garden’s success.
Start paying close attention to the sprouting phase in your garden today—it’s where your gardening journey truly begins!