Introduction
Garden sprayers are essential tools for maintaining healthy plants, applying fertilizers, pesticides, and herbicides efficiently. However, like any gardening equipment, sprayers can develop problems over time, affecting their performance. Repairing a garden sprayer promptly not only saves money but also ensures your garden receives the proper care it needs. This article provides expert advice on how to diagnose common issues, perform effective repairs, and maintain your sprayer for long-term use.
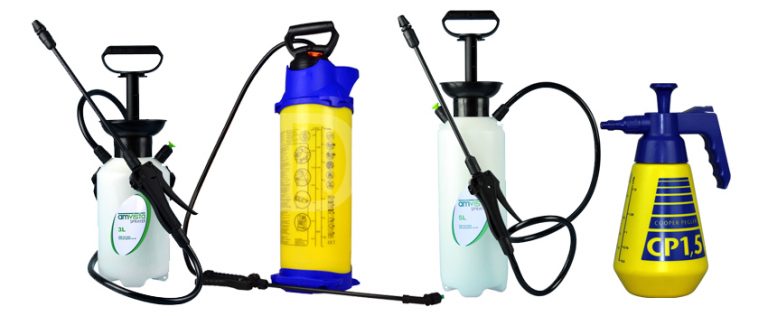
Common Problems with Garden Sprayers and How to Identify Them
Garden sprayers might stop working correctly due to a variety of reasons. Understanding these issues is the first step toward repair.
Leaking Sprayer Tank or Hose
Leaks are a frequent problem that can waste chemicals and reduce spraying efficiency. Inspect the tank and hoses for cracks, holes, or worn-out seals.
Low or No Spray Pressure
If your sprayer produces weak or no spray, it may be due to clogged nozzles, a faulty pump, or air leaks in the system.
Trigger or Valve Malfunction
A broken trigger or valve can prevent the sprayer from releasing liquid correctly. This might involve mechanical wear or blockage.
Step-by-Step Guide to Repairing Your Garden Sprayer
1. Inspect and Clean the Nozzles
Remove the nozzle and soak it in warm soapy water to dissolve residue. Use a soft brush or a fine needle to clear any blockages. Regular nozzle maintenance prevents spray issues.
2. Replace or Repair the Seals and Gaskets
Check all rubber seals and gaskets for wear or damage. Replace any brittle or cracked parts with new replacements from the manufacturer to ensure a tight seal and prevent leaks.
3. Fixing Leaks in Hoses and Tank
For minor hose leaks, use waterproof tape for a temporary fix or replace the hose entirely for a permanent solution. Cracks in plastic tanks can sometimes be sealed with waterproof epoxy, but replacement may be necessary for severe damage.
4. Pump Maintenance
Disassemble the pump according to the user manual and inspect the internal components. Clean or replace worn diaphragms and valves to restore proper pressure.
Preventive Maintenance Tips to Extend Your Sprayer’s Lifespan
- Rinse sprayer thoroughly after each use to avoid chemical buildup.
- Store sprayer in a cool, dry place away from direct sunlight to prevent material degradation.
- Lubricate moving parts regularly to reduce wear.
- Check and replace seals annually to maintain airtight performance.
When to Consider Professional Repair or Replacement
While many repairs are manageable at home, some situations require expert assistance:
- Persistent leaks after multiple repairs
- Severe tank damage that affects structural integrity
- Pump failure beyond user-level fixes
In such cases, consulting a professional or replacing the sprayer ensures safety and effectiveness.
Conclusion
Repairing your garden sprayer is a practical way to maintain efficient garden care without unnecessary expenses. By identifying common problems, performing routine maintenance, and knowing when to seek professional help, you can keep your sprayer in excellent working condition. Regular upkeep not only improves spray accuracy but also extends the lifespan of your equipment, supporting a thriving garden season after season. Take action today to inspect your sprayer and apply these expert tips for reliable results.