Introduction
A clean garden sprayer nozzle is essential for maintaining a healthy garden and ensuring your sprayer works efficiently. Over time, nozzles can clog with dirt, debris, or chemical residues, leading to uneven spraying or complete blockage. This article explains why cleaning your garden sprayer nozzle is crucial, outlines expert methods for thorough cleaning, and provides actionable tips to keep your nozzle in top condition.
Why Is It Important to Clean Garden Sprayer Nozzles?
Garden sprayer nozzles control the flow and spray pattern of liquids, such as fertilizers, pesticides, and herbicides. When nozzles get clogged:
- Spray distribution becomes uneven, reducing effectiveness.
- Flow rates decrease, wasting chemicals and time.
- Damage to plants can occur due to inconsistent application.
Regular cleaning preserves nozzle performance, saves money, and promotes healthier plants. Experts recommend cleaning after every use to avoid buildup and prolong nozzle life.
Common Causes of Nozzle Clogging
Understanding what clogs your sprayer nozzle helps in preventing it:
- Dirt and soil particles from outdoor use.
- Chemical residues from fertilizers or pesticides.
- Hard water deposits leading to mineral buildup.
- Debris from tank contents or poorly filtered liquids.
By identifying these causes, you can tailor cleaning methods effectively.
Step-by-Step Guide to Cleaning Garden Sprayer Nozzles
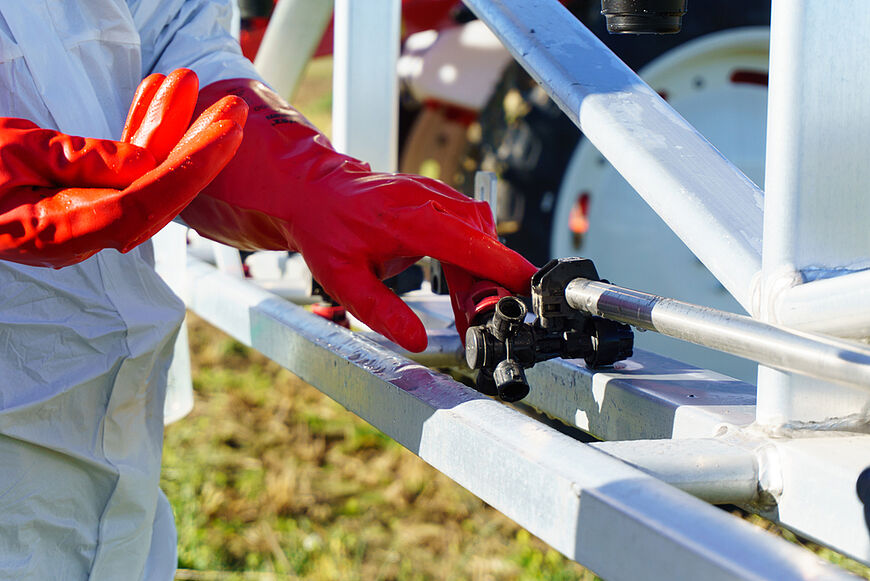
1. Safety First
Always wear gloves and protective eyewear when handling chemicals or cleaning solutions.
2. Disassemble the Nozzle
Remove the nozzle from the sprayer carefully. Separate any removable parts, such as filters or screens.
3. Rinse with Water
Flush the nozzle components with clean water to remove loose dirt.
4. Soak in a Cleaning Solution
Use a mild cleaning solution such as:
- Warm soapy water
- A vinegar and water mix (1:1 ratio) to dissolve mineral deposits
- Specialized nozzle cleaning products
Soak parts for 15-30 minutes.
5. Use a Soft Brush or Toothpick
Gently scrub the nozzle holes and parts with a soft-bristled brush or a toothpick to dislodge stubborn debris. Avoid metal objects to prevent damage.
6. Rinse Thoroughly
Flush the nozzle again with clean water to remove any loosened particles and cleaning solution.
7. Reassemble and Test
Put all parts back together and test the sprayer on water to ensure the spray pattern is consistent and unobstructed.
Tips for Maintaining a Clean Sprayer Nozzle
- Filter liquids before filling the tank to reduce debris.
- Use clean water for dilutions to prevent mineral buildup.
- Flush the sprayer with clean water after each use.
- Store sprayers in a dry place to avoid corrosion.
- Inspect nozzles regularly for wear or damage and replace when necessary.
Expert Insights
According to horticulture specialist Dr. Lisa Green, “Consistent nozzle maintenance directly impacts the effectiveness of garden treatments. Clean nozzles ensure even coverage, reducing chemical waste and protecting plants from potential damage caused by uneven spraying.”
Conclusion
Cleaning your garden sprayer nozzle is a simple yet vital task that ensures your garden care routine is effective and efficient. By following expert-backed cleaning steps and adopting preventive maintenance habits, you can extend the life of your sprayer and keep your plants thriving. Make nozzle cleaning a regular part of your gardening practice to enjoy healthier plants and save time and resources in the long run.