Introduction
Installing a garden hose reel can transform your gardening experience by keeping your hose neatly stored, preventing kinks, and extending its lifespan. Whether you’re a seasoned gardener or a homeowner looking to enhance your outdoor space, a hose reel installation offers convenience and durability. This guide walks you through the essential steps to install a garden hose reel efficiently and safely, ensuring you get the most out of your investment.
Why Install a Garden Hose Reel?
A garden hose reel keeps your hose organized, reducing wear and tear and making watering tasks easier. Here are some benefits:
- Prevents tangling and kinking that can damage hoses.
- Improves safety by reducing tripping hazards.
- Enhances aesthetic appeal of your garden or yard.
- Facilitates quick and easy hose storage and retrieval.
Understanding these benefits helps prioritize the installation process and select the right reel type for your needs.
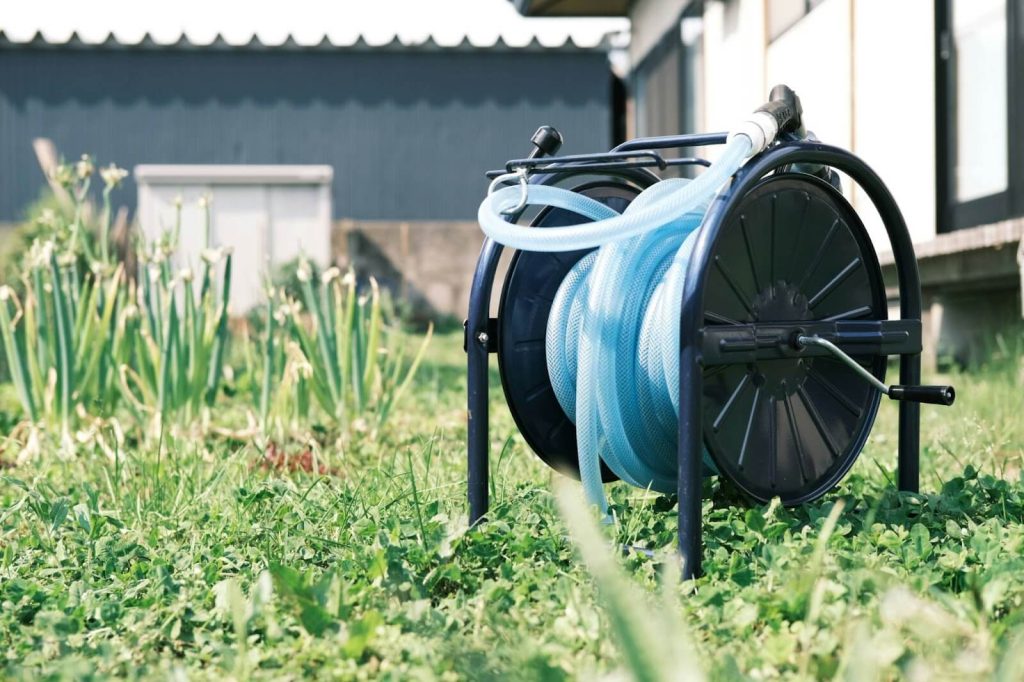
Choosing the Right Hose Reel
Before installation, select a reel that fits your garden size and hose length. There are three main types:
Wall-Mounted Hose Reels
Ideal for fixed locations near water sources. They save floor space and keep hoses accessible.
Portable Hose Reels
These offer flexibility and are easy to move around the garden but often require manual winding.
Retractable Hose Reels
Feature automatic winding mechanisms for convenience but may have higher maintenance needs.
Tip: Measure your hose length and check the reel’s capacity. Choose materials like powder-coated steel or UV-resistant plastic for durability.
Tools and Materials Needed for Installation
Gather the following items before starting:
- Drill and appropriate drill bits
- Screwdriver
- Level
- Wall anchors and screws (usually provided with the reel)
- Pencil for marking
- Tape measure
- Stud finder (for wall mounting)
Having these tools ready ensures a smooth and safe installation process.
Step-by-Step Installation Process
1. Select the Installation Location
Choose a location close to the water source and within reach of your garden area. Ensure the wall or surface is sturdy enough to support the reel’s weight when loaded with a hose.
2. Mark Mounting Points
Use a stud finder to locate studs behind the wall for secure mounting. Mark the drill points with a pencil, using a level to keep the reel straight.
3. Drill Holes and Insert Anchors
Drill holes at the marked points. If mounting on drywall without studs, insert wall anchors to provide extra support.
4. Attach the Hose Reel
Align the reel with the drilled holes and secure it firmly with screws. Double-check that the reel is level and stable.
5. Connect the Hose
Attach your garden hose to the reel’s swivel connector or inlet. Pull out the hose completely and rewind it to ensure smooth operation.
6. Test the Setup
Turn on the water supply and check for leaks at the connection points. Ensure the reel mechanism operates correctly without resistance.
Maintenance Tips for Longevity
- Drain the hose before winter to prevent freezing damage.
- Regularly clean the reel and hose to avoid dirt buildup.
- Lubricate moving parts of retractable reels annually.
- Store the hose and reel in shaded areas to reduce UV damage.
Following these maintenance practices extends the life of your hose reel and keeps it functioning smoothly.
Conclusion
Installing a garden hose reel is a straightforward project that offers lasting benefits, including organized storage, hose protection, and enhanced garden safety. By choosing the right reel type, preparing your tools, and following precise installation steps, you can enjoy effortless garden watering for years to come. Take the time to maintain your reel properly, and it will remain a reliable tool in your gardening arsenal. Ready to upgrade your garden setup? Start your hose reel installation today and experience the convenience firsthand!