
Introduction
Building a garden tuteur is an essential skill for any gardener looking to support climbing plants, vegetables, and flowers effectively. A tuteur not only enhances plant growth but also adds structure and charm to your garden. This article explores how to build a garden tuteur, the materials you need, and expert tips to ensure your plants thrive.
What Is a Garden Tuteur and Why Build One?
A garden tuteur is a vertical support structure used to train plants upward. Traditionally made from wood or metal, tuteurs provide stability to plants like tomatoes, beans, and clematis. They prevent plants from sprawling on the ground, reducing disease risk and improving air circulation.
Benefits of Using a Garden Tuteur:
- Maximizes garden space by encouraging vertical growth
- Enhances plant health by minimizing contact with soil
- Adds aesthetic appeal with decorative designs
- Makes harvesting easier and more efficient
By building your own garden tuteur, you customize its size, shape, and materials to suit your garden’s needs and style.
Materials Needed to Build a Garden Tuteur
Choosing the right materials is crucial for durability and plant support. Here are common materials:
- Wood: Cedar and redwood resist rot and insects, making them excellent choices.
- Metal: Steel or wrought iron tuteurs are sturdy and often decorative.
- Bamboo: Eco-friendly and lightweight, bamboo grows quickly and is ideal for temporary supports.
- Twine or Garden Wire: Used to tie plants gently to the tuteur without damage.
Tools Required
- Measuring tape
- Saw (for cutting wood or bamboo)
- Hammer and nails or screws
- Drill (optional, for metal or wood)
- Protective gloves
Selecting weather-resistant materials ensures your tuteur lasts multiple seasons.
Step-by-Step Guide to Building a Simple Wooden Garden Tuteur
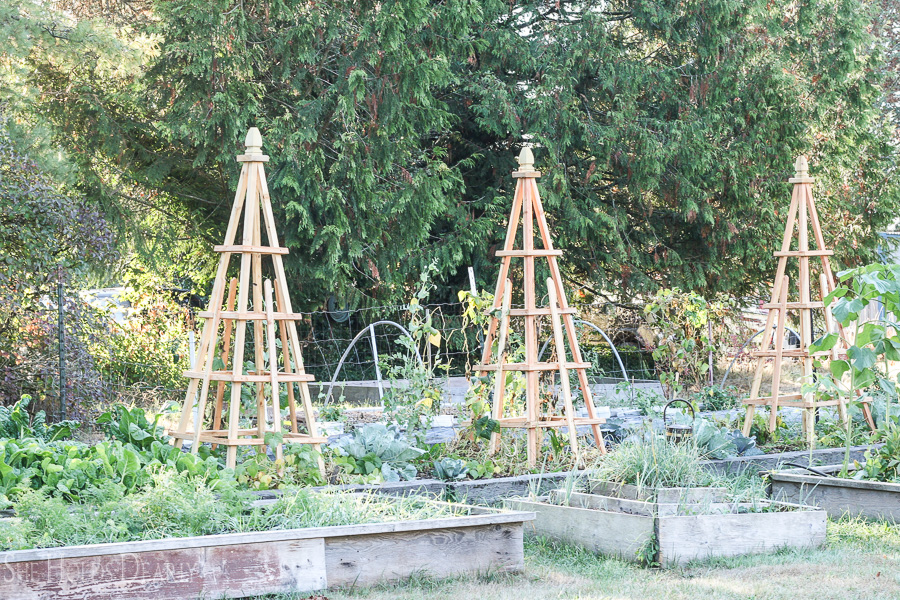
- Plan Your Design: Decide the height and shape based on the plant’s growth habits; common shapes include pyramids and cones.
- Cut the Wood: Measure and cut four wooden stakes to the desired length (usually 5-6 feet for most plants).
- Assemble the Frame: Arrange the stakes in a square or triangular base, then nail or screw the tops together to form a peak.
- Add Cross Supports: Attach horizontal wooden slats or garden wire between stakes at intervals to provide extra support.
- Secure the Tuteur: Push the tuteur firmly into the soil near your plant, ensuring stability.
- Tie Plants Gently: Use soft twine to tie plants to the structure, avoiding tight knots that could harm stems.
Tips for Maintaining and Using Your Garden Tuteur Effectively
- Inspect Regularly: Check for damage or loosening joints, especially after storms.
- Replace Worn Materials: Swap out twine or wire that may have degraded.
- Position Strategically: Place tuteurs early during planting to guide growth properly.
- Decorate for Appeal: Paint or stain wooden tuteurs to match garden decor and protect wood from weathering.
Expert Insights and Common Mistakes to Avoid
Garden experts emphasize the importance of choosing the right size tuteur to prevent plant stress. Oversized structures can overwhelm small plants, while undersized ones won’t provide enough support. Avoid using materials that may leach chemicals into the soil, such as treated lumber not rated for garden use.
Conclusion
Building a garden tuteur is a straightforward project that yields significant benefits for plant health and garden aesthetics. By selecting durable materials, following a clear assembly process, and maintaining your tuteur well, you create a sturdy support system that helps your garden flourish. Start building your garden tuteur today to enjoy stronger, healthier plants and a more organized garden space.